How To
Unleash the Power of Trggr: Grow Your Email Newsletter with the Perfect MailChimp Integration
Integration Steps
All Trggr needs to integration with MailChimp is a “API key” and the server that your account is hosted on. Click your profile icon in the top right hand corner of the screen. Then click on Account & Billing. From here, click on “API keys” under the Extras tab. This will enable seamless communication between Trggr and MailChimp, streamlining your operations and enhancing your marketing efforts.
For a guide from MailChimp view their Docs https://mailchimp.com/developer/transactional/guides/quick-start/#generate-your-api-key

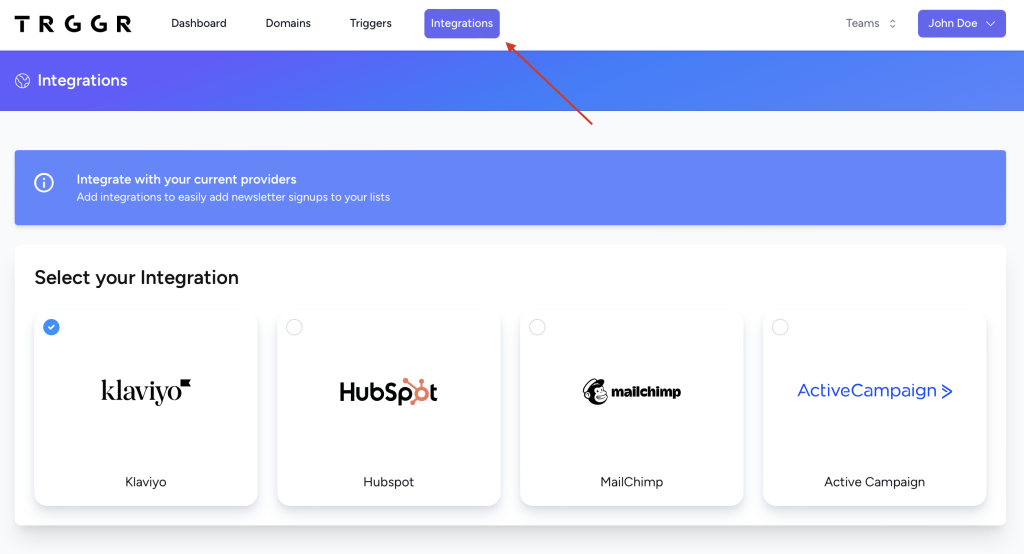
Next, login to your Trggr account and navigate to the “Integrations” section.

- 1. Chioose the “MailChimp” integration option
- 2. Then enter in your API key
- 3. Enter your server ( E.g. us12 ), which can be found in the URL Bar when logged in, or part of your API Key
- 4. Click “Update MailChimp”
- 5. Afterwards, select a list from the dropdown menu to choose which MailChimp list you’d like your subscribers to be added. And click “Update MailChimp”

Your MailChimp integration setup is complete!
What Next?
Defining Your Trigger
Now that you’re integrated with MailChimp, you’ll need to setup a trigger to display a form for your user to engage with. For a step-by-step guide on how to setup a “form” Trggr to accept a name, email, or phone from your visitors, please see our guide on defining a form trigger.
Conclusion
So why wait? Take advantage of the power of MailChimp and the simplicity of Trggr today. Setting up MailChimp to accept newsletter signups from your website has never been easier or more exciting. Say goodbye to complicated integrations and hello to effortless growth with Trggr. Get started now and watch your subscriber list soar!
Contact Us
Have questions? We’re here to help. Reach out if there’s anything we can do to assist you and your user engagement needs.